3 different looks to decorate your Easter table
In these turbulent times, we need to keep our bearings more than ever.
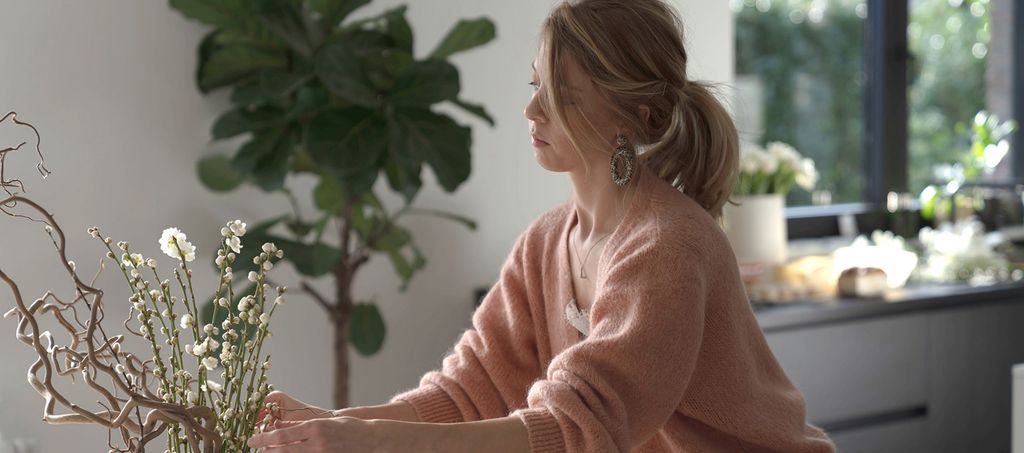
Easter is approaching. Why not create a chic and trendy decorative element for your table ahead of enjoying a festive meal with your family or as a couple? Sarah, our graphic designer and stylist offers these 3 ideas.
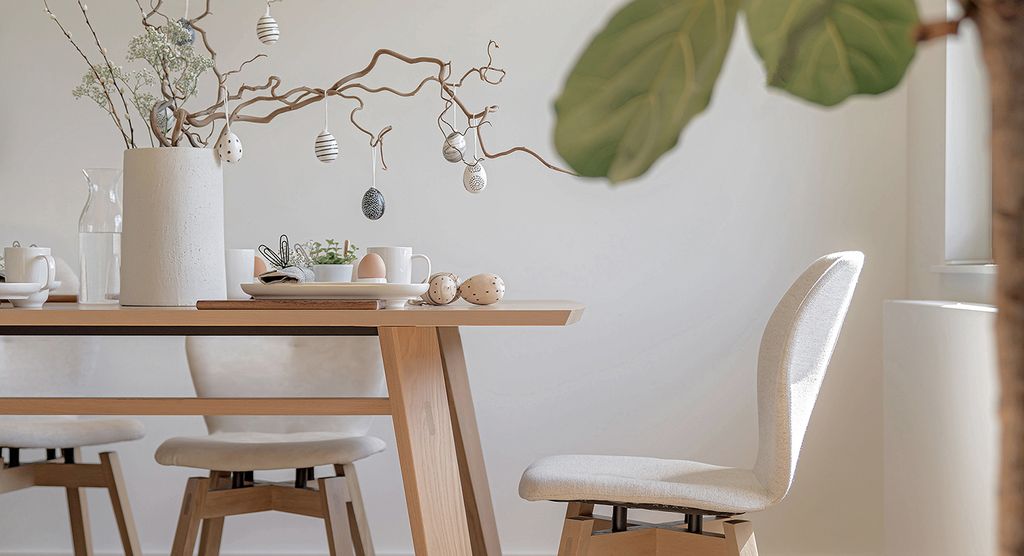
We have opted to highlight our creations with a solid oak Mood#T8 table and MOOD#91 chairs with ivory fabric upholstery. Soft and luminous colours and materials perfectly in line with the trends for 2020 while being sufficiently neutral to take on 3 very different looks!
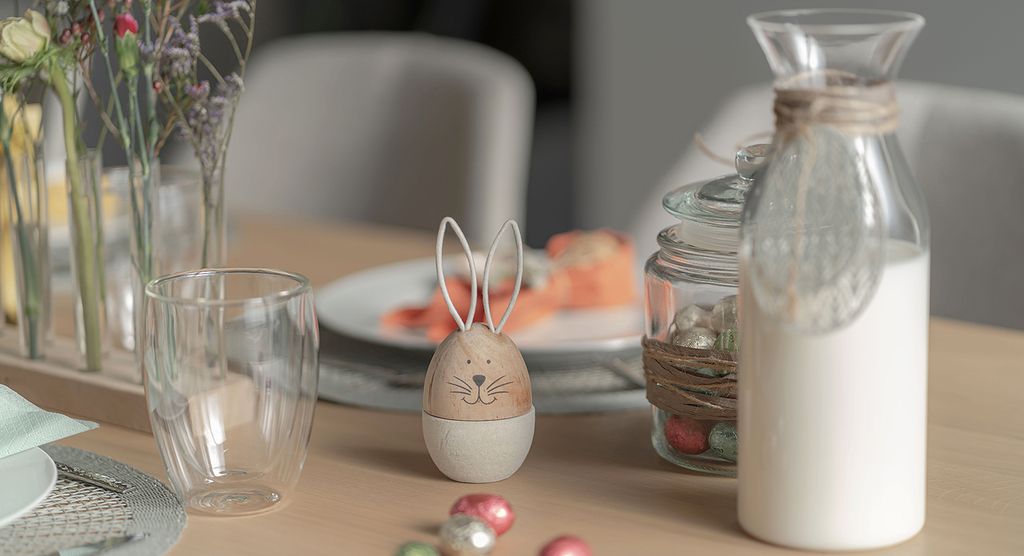
1. Scandinavian decoration
Sarah says:
“Very trendy among the younger generations, Scandinavian design is particularly suited to the Easter atmosphere. Here, we will be playing mainly on the sober contrast between black and white.”
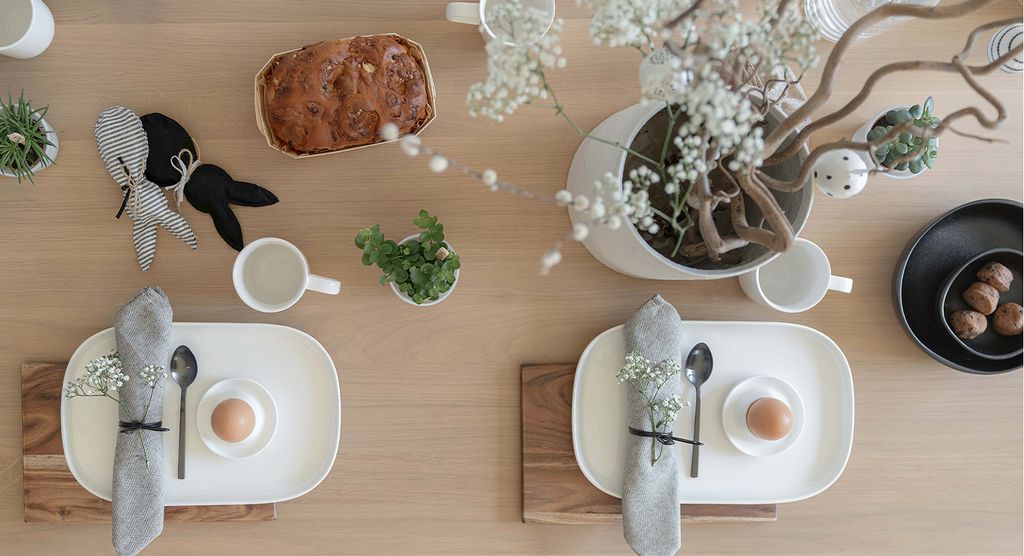
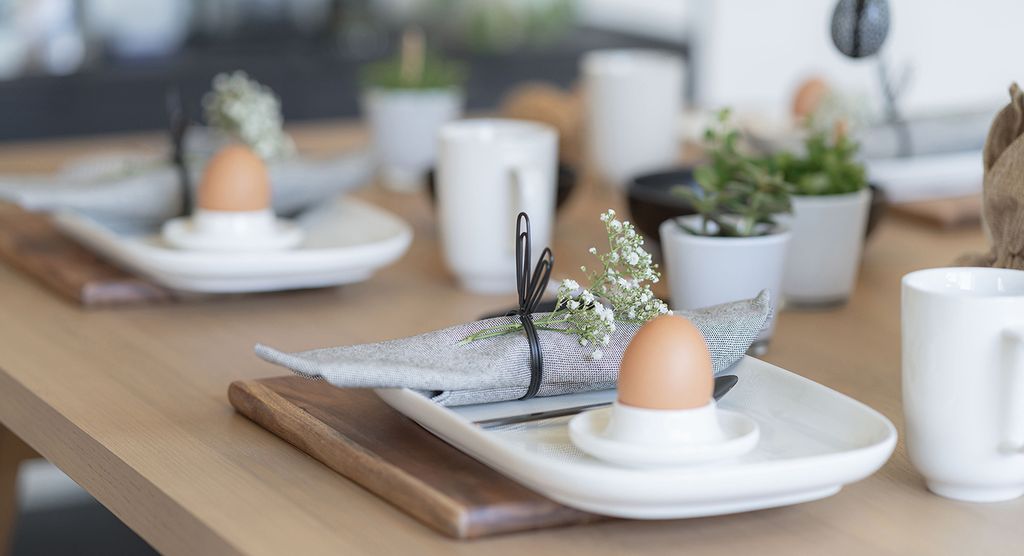
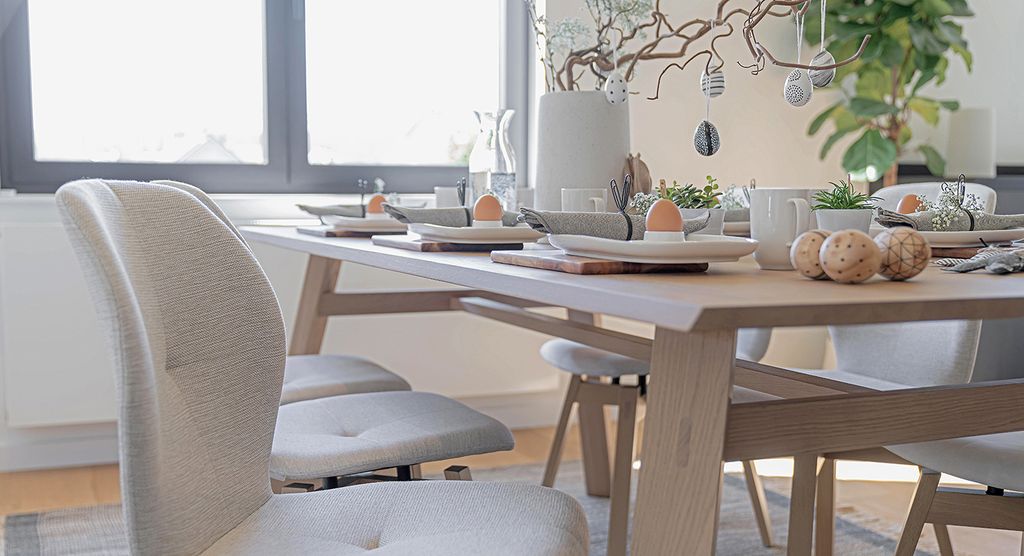
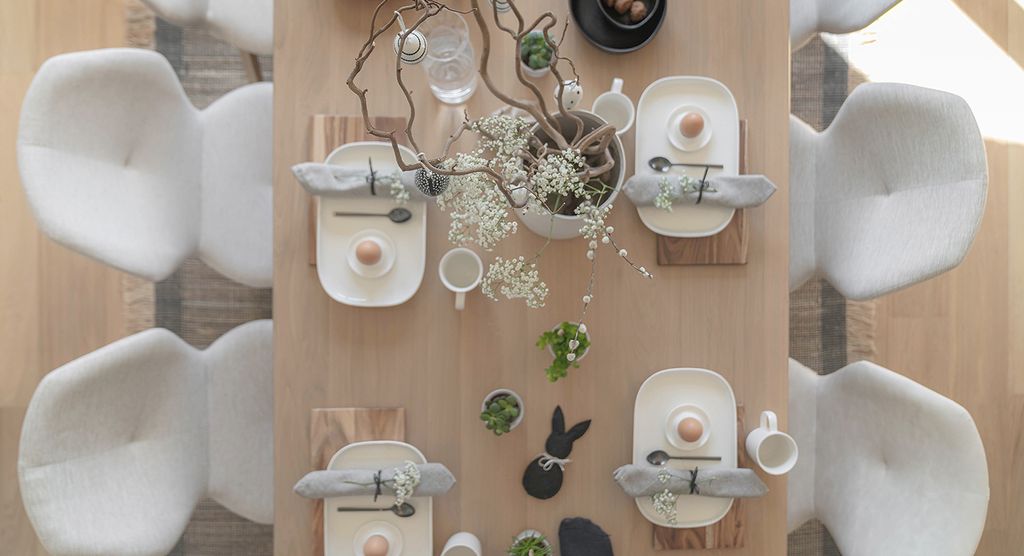
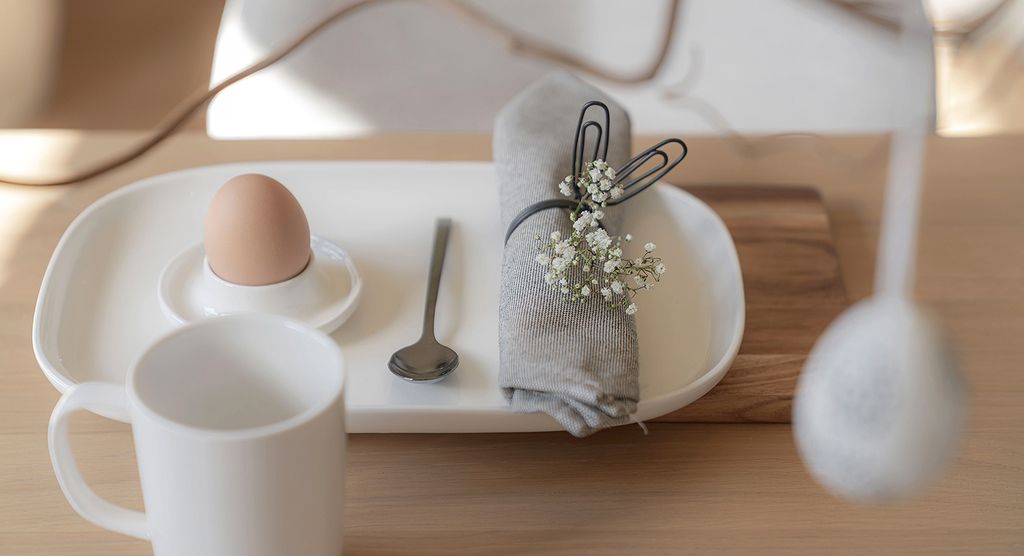
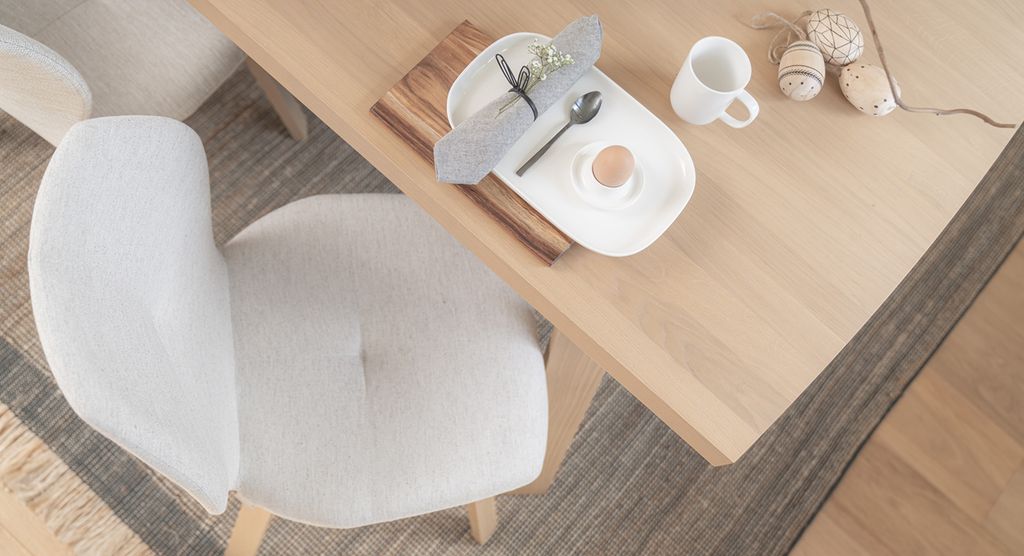
Materials: greenery (sparingly), willow branches with catkins, white or black tableware, very light-coloured wood, cardboard, Kraft paper, white eggs, possibly decorated with geometric patterns.
Colours: black, white, natural colours, and light touches of green.
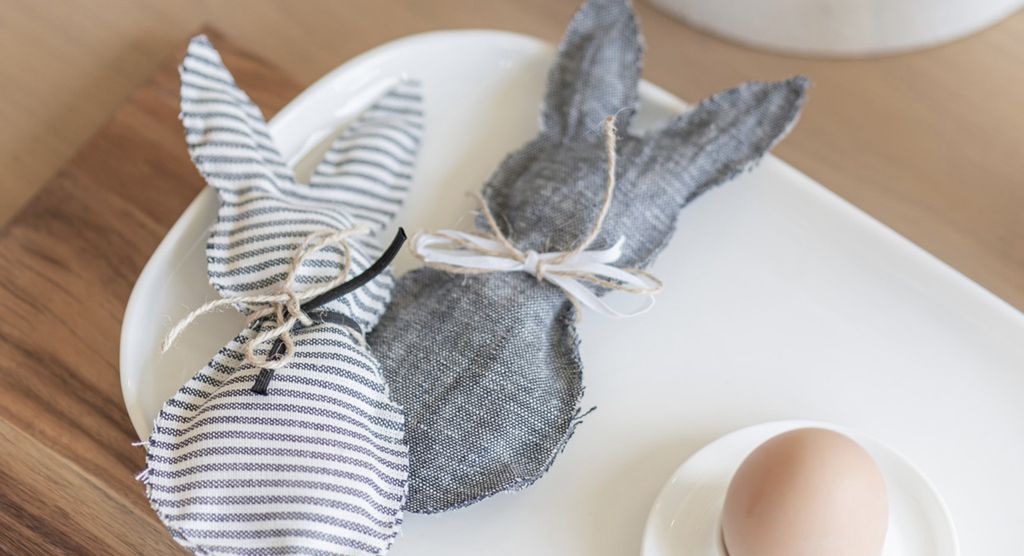
Do-It-Yourself:
Materials:
- Fabric (new or recycled)
- Cotton
- Cords
- Rabbit stencil (pdf file)
- Cardboard
- Pencil
- Scissors
- Hot glue (+ glue sticks)
Instructions:
- Download our template, transfer it to cardboard (empty cereal box or other), and then cut it out.
- Place the cardboard template on the piece of fabric, trace its outline using a pencil, and cut it (you can fold the fabric to make both sides at the same time).
- Stick the 2 sides together, starting with the ears and following the edges. Fill this part with cotton wool and continue gluing down the edges while always keeping an opening through which to insert cotton wool.
- Finally, decorate the rabbit with a small piece of string tied around the neck.
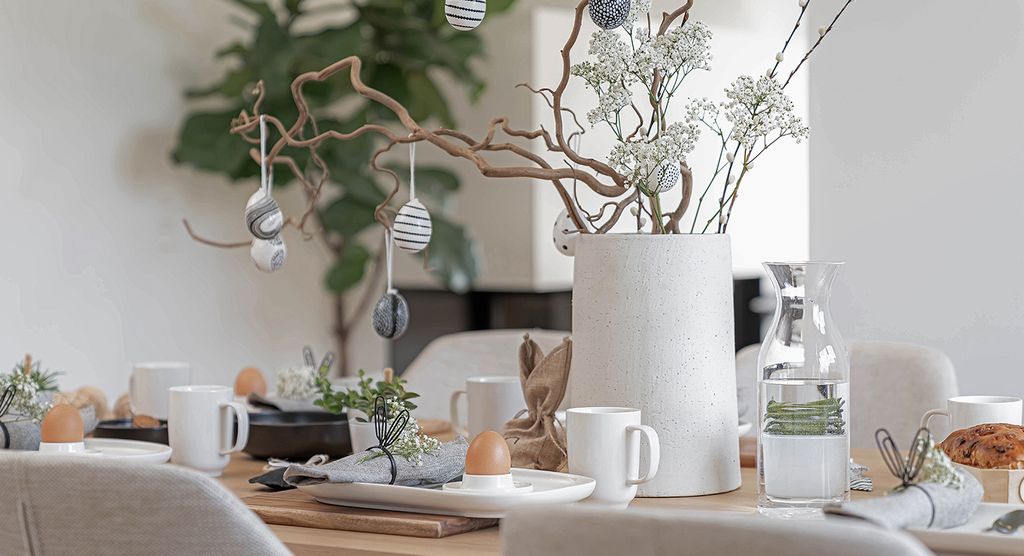
2. Playful and colourful decoration
Sarah says:
“Here is a cheerful and colourful table for those who love a lively interior or who want to prepare the Easter table as a family, with the children.”
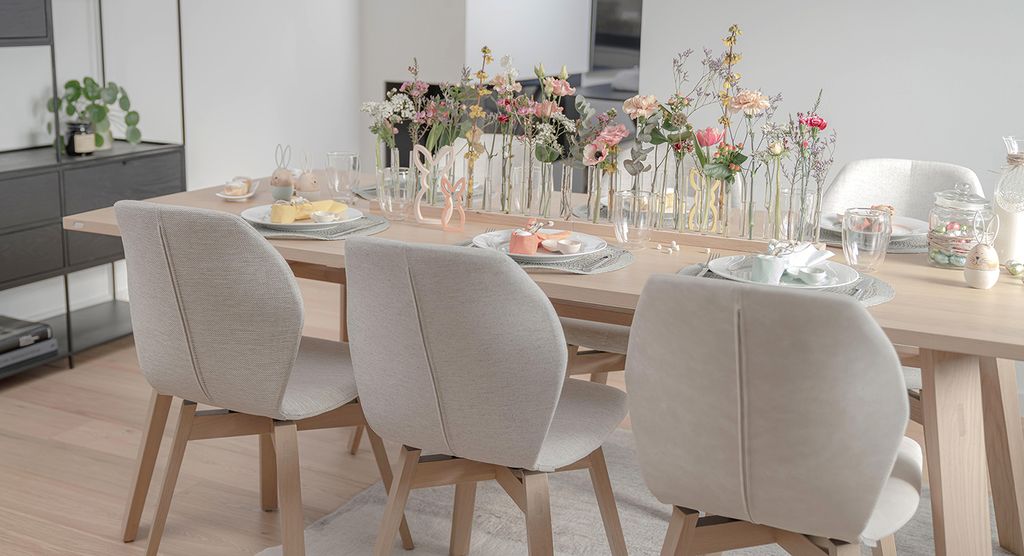
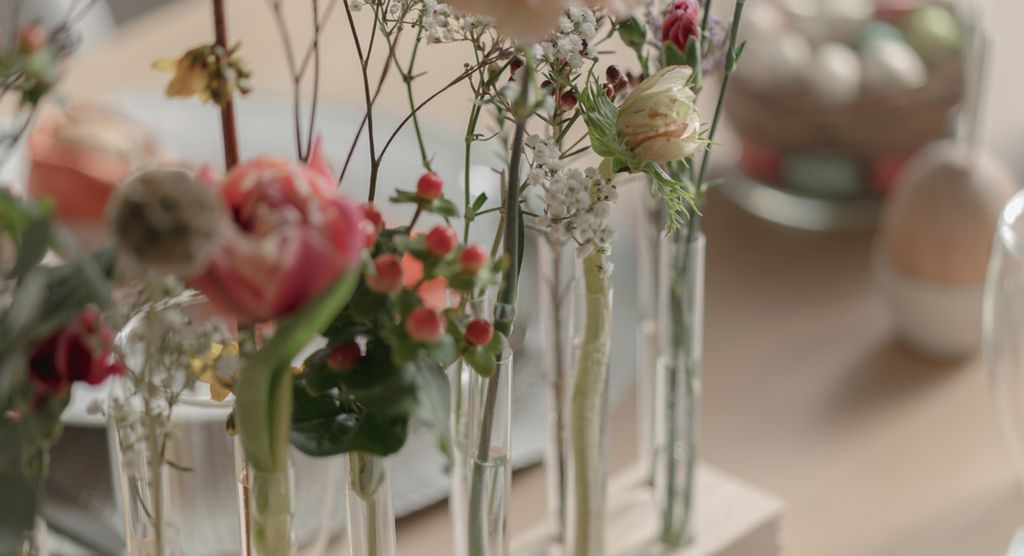
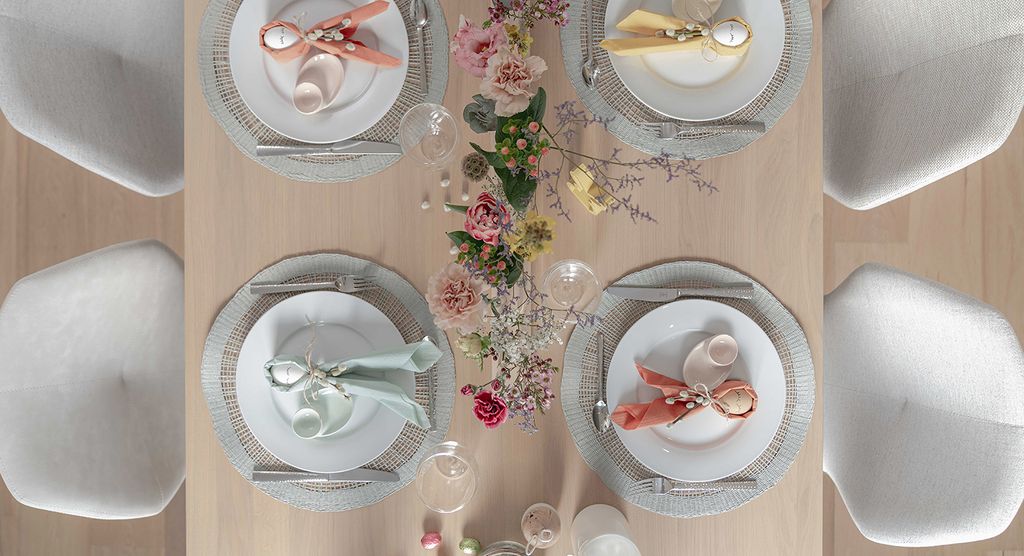
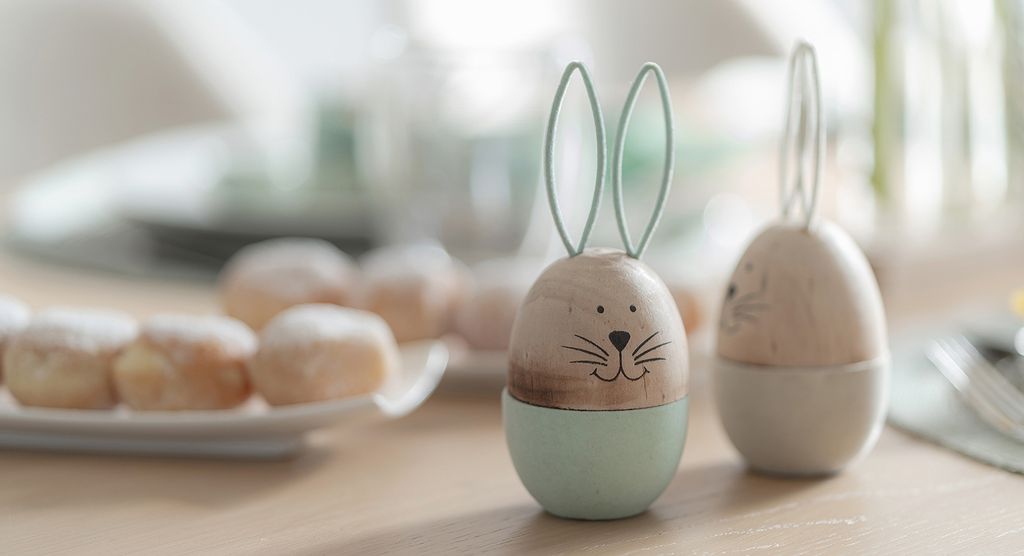
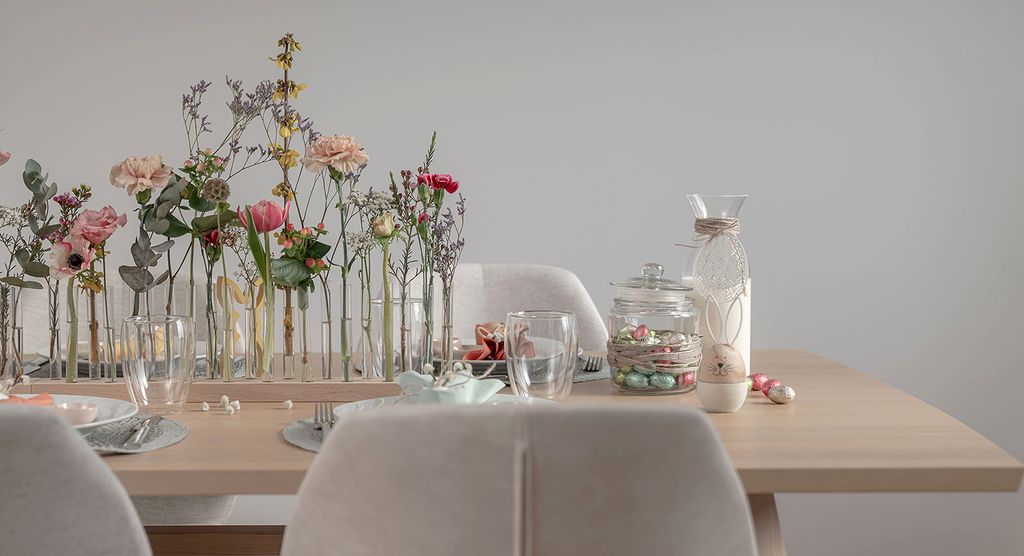
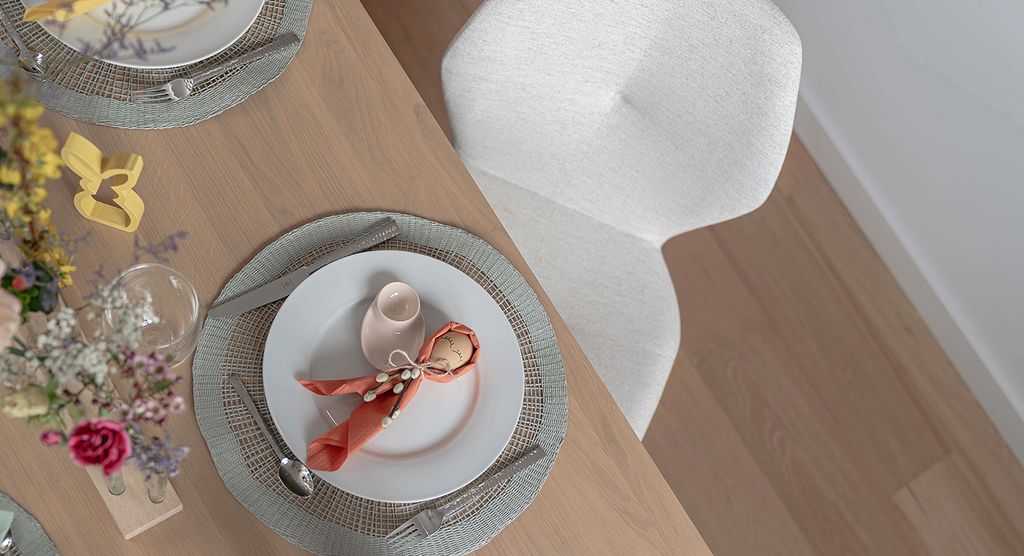
Materials: greenery, branches, colourful flowers, white porcelain tableware, colourful and/or patterned napkins, light-coloured wood, wooden rabbits, …
Colours: bright, pastel colours and white or more natural colours for the tablecloth (if necessary), to accentuate the contrast.
Do-It-Yourself:
Materials:
- 1-2 wooden strips (approx. 2 x 6 x 55cm)
- Test tubes (approx. Ø 14,5mm)
- Selection of pretty flowers (fresh or dried flowers, from the florist or picked yourself)
- Tape measure
- Pencil
- Screw clamp
- Drill machine (drill bit: Ø 15mm)
- Sandpaper
Instructions:
- Draw 2 parallel lines along the entire length of the wooden strip. Space out the drilling points at equal intervals along the two lines (here, every 5cm)
- Stabilise the wooden slat using a screw clamp before drilling the notches in the wooden strip.
- Finally, pour a little water into the test tubes and place a flower in each test tube.
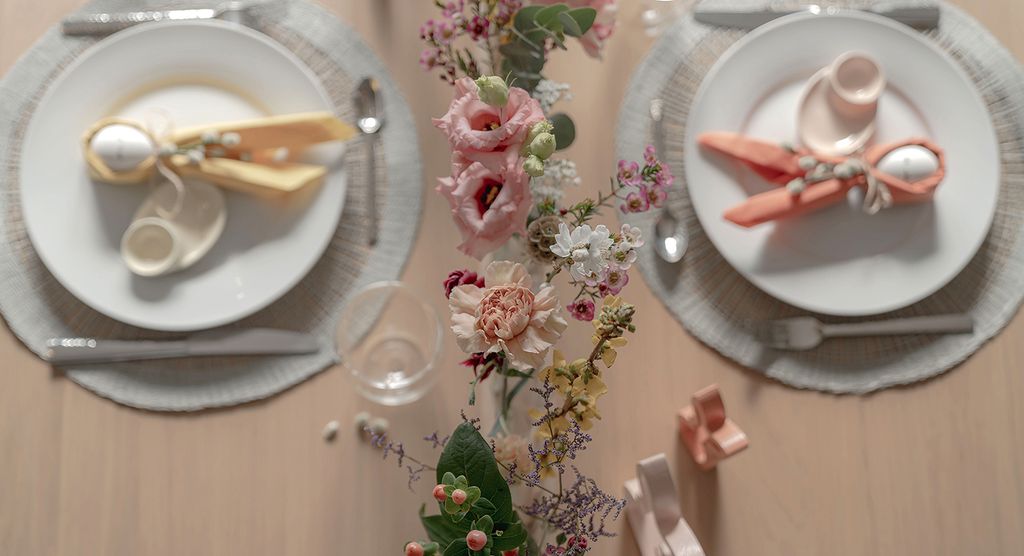
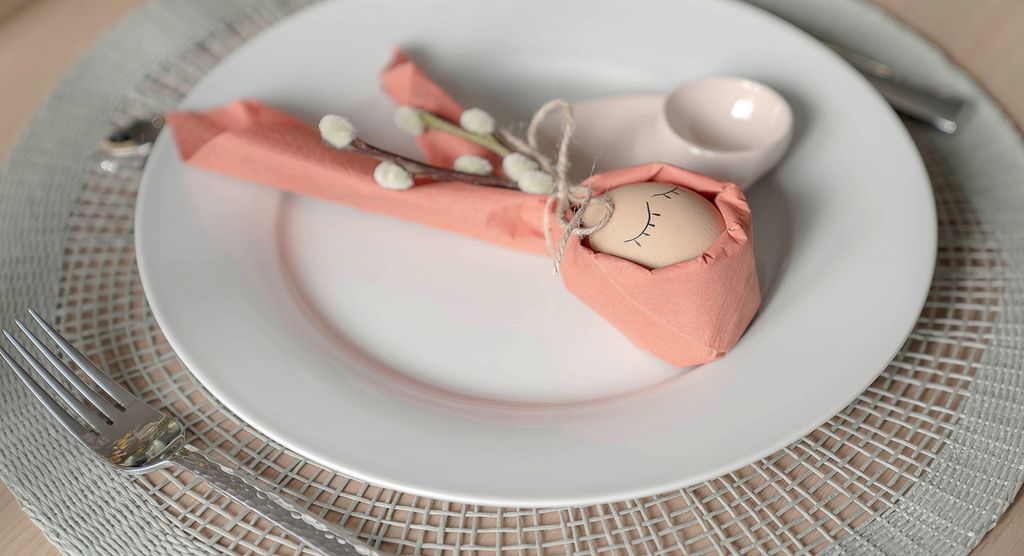
3. Chic springtime decoration
Sarah says:
“This is a fairly elaborate and sophisticated decoration, far from the slightly kitsch and cliché Easter table decoration. However, we are staying in an atmosphere very close to nature, with plants, a nest, natural materials and light colours.”
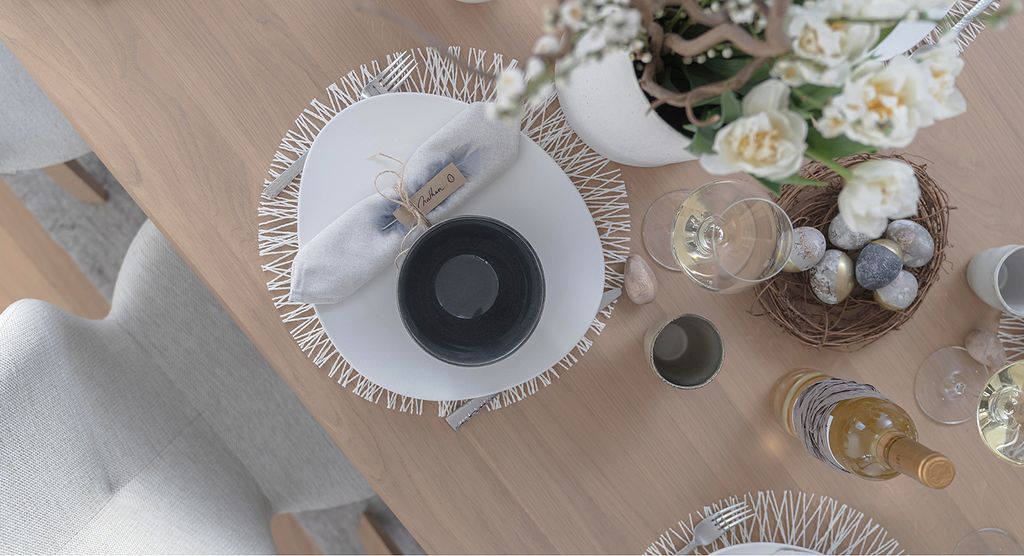

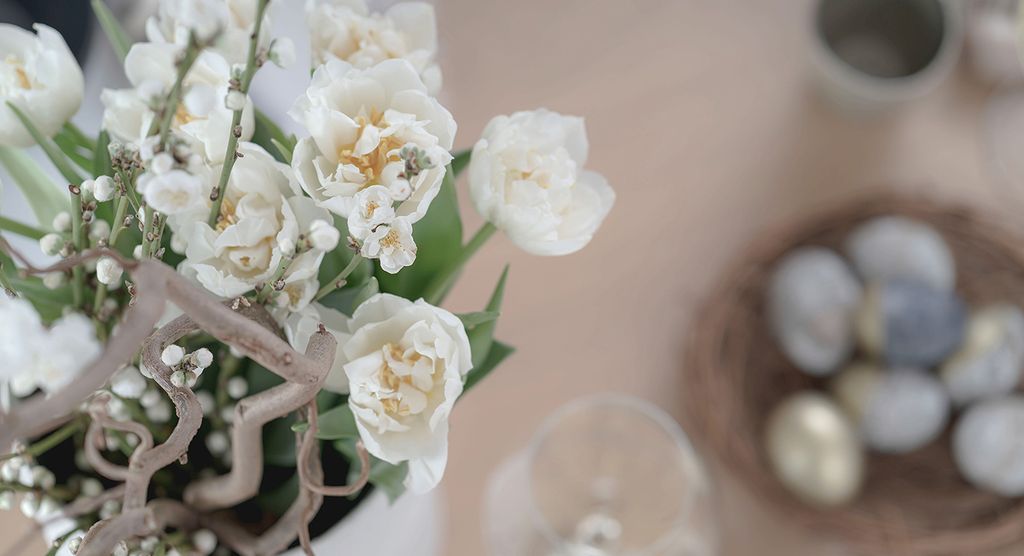
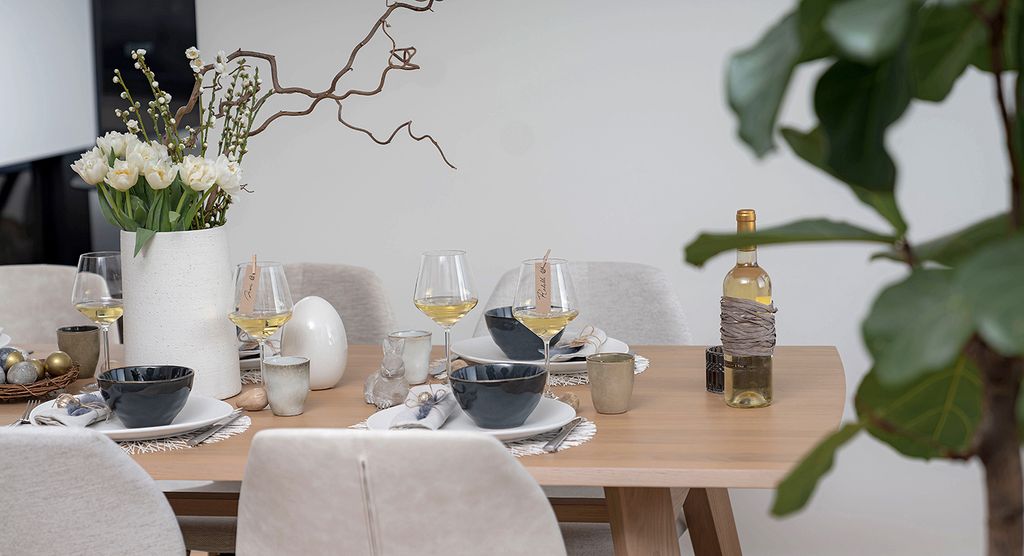
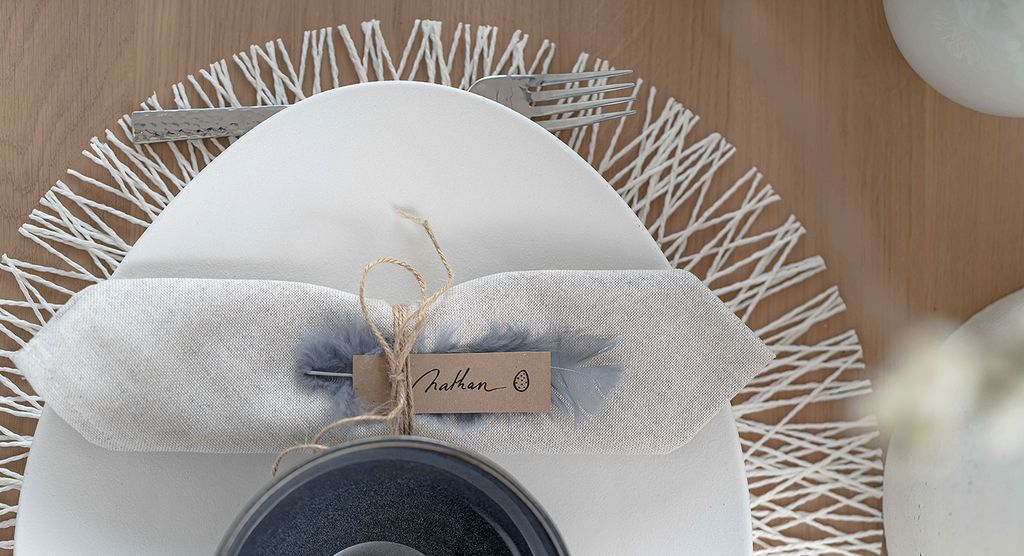
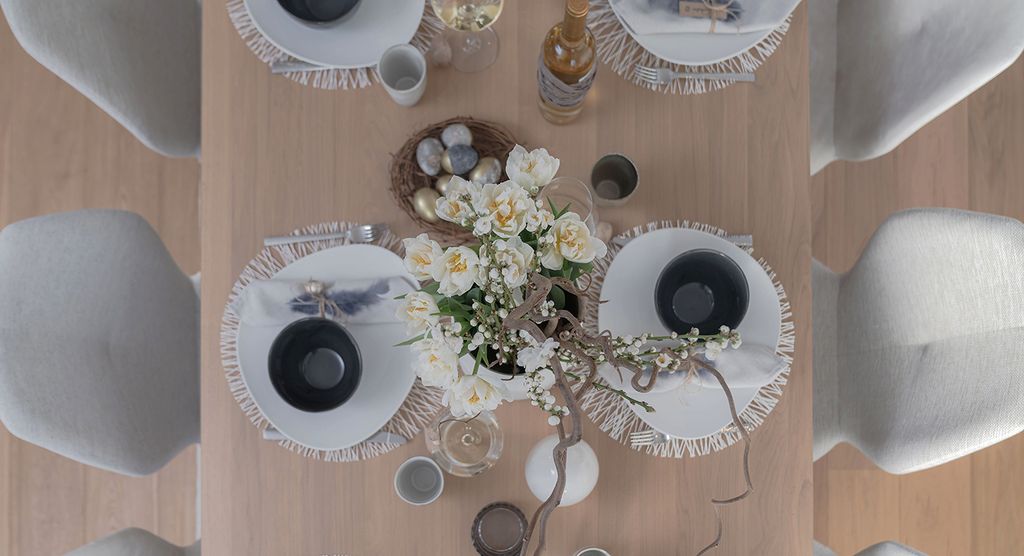
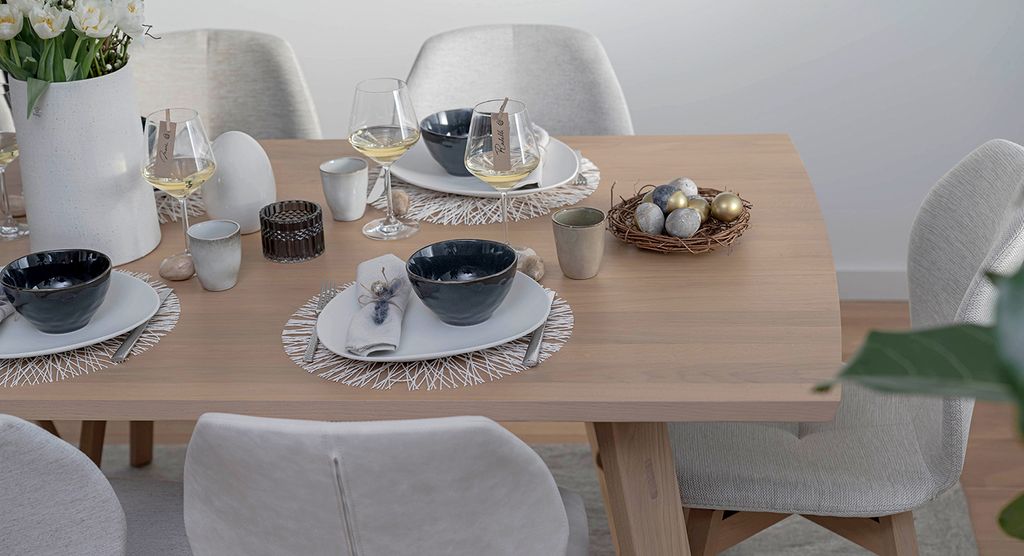
Materials: greenery, white flowers, branches, fairly sober porcelain tableware, linen napkins, wood, raffia, painted eggs (see DIY).
Colours: white, beige, green (the greenery) as well as midnight blue and gold.
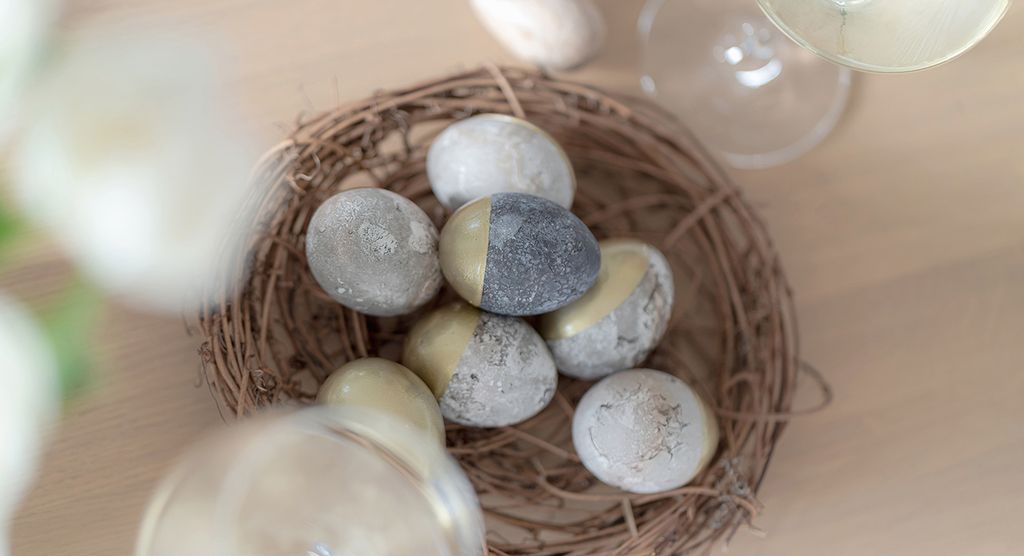
Do-It-Yourself:
Materials:
- Grape juice
- Vinegar
- White eggs
- Food colouring (optional)
- Gold paint (or other)
- Paper towel
- Bowl
- Frying pan (for the food colouring)
- Spoon
- Egg cup
Instructions:
- Place the eggs in a mixture of equal parts grape juice and vinegar and leave them to soak overnight (or several hours).
- The next day, dab the eggs with a paper towel and leave them to dry.
- To finish, dip the eggs halfway into the gold paint.
- You can also give your eggs a pretty colour. To do this, simply dip them in food colouring and dab them again with a paper towel.
Latest news